Kalea Informatique | IT specialist
|
Add to cart
Product added to the basket The stock is insufficient - units have been added to cart Total:
|
|
Out of stock
Out of stock
|
|
Minimum purchase quantity
The minimum purchase quantity is not reached
|
- CB5
- CB4
- CB1
- CB2
- CB3
-

- CHEQUE
- Net Mobile


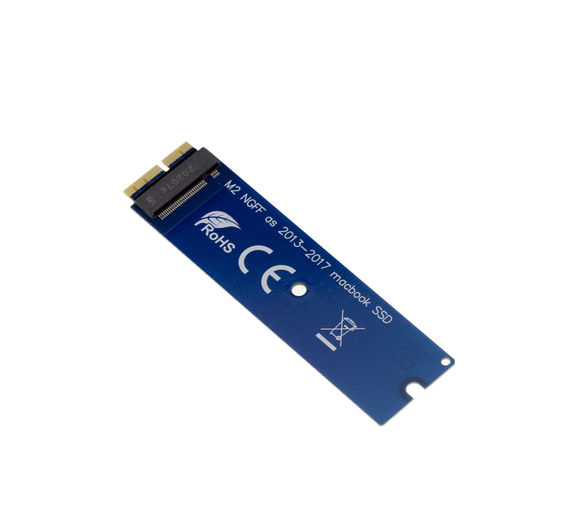
KIT M2 adapter (M.2 NGFF) to MACBOOK 2013 and more NVMe support. SINTECH MANUFACTURING
M2 SSD MACBOOK 12+16 pin adapter KIT 2013 2014 2015 2016 2017 2018 2019 NVMe
Ref. Convertisseur M2 (NGFF) vers MAC 12+16 - SIN - KIT
KALEA-INFORMATIQUE
3760306791459
Product Details
For mounting a PCIe M or B+M Key M.2 SSD card in place of the 12+16-pin SSD found on MacBook Air models from 2013 onwards.
Not suitable for SATA M.2 SSDs.
Supplied as a kit, with the screws and screwdrivers needed for mounting.
Specifications:
For M.2 drives type PCIe, M or B+M Key only
The adapter will enable the M2 SSD to be mounted in place of the original SSD on a MAC using a 12+16-pin PCie SSD (Macbooks produced after 2013).
Macbooks from 2013, 2014, 2015 don't support NVMe SSDs, so you'll need to use an AHCI-type SSD with this adapter.
Example of supported SSDs: Samsung XP941 (MZHPU128HCGM MZHPU256HCGL MZHPU512HCGL), Samsung SM951 PCIE-AHCI (MZHPV128HDGM MZHPV256HDGL MZHPV512HDGL).
The 2016 and 2017 "AIR" and 2015, 2016, 2017 "PRO" Macs support NVMe SSDs.
Example of supported SSDs :PM951 PCIE-NVME (MZFLV128HCGR MZFLV256HCHP MZFLV512HCJH), 950 PRO (MZVKV256 MZVKV512), 960 EVO (MZ-V6E250BW MZ-V6E500BW,MZ-V6E1T0BW).
You'll need to prepare a "USB DISK DRIVER" to use this adapter. See, for example, this article on how to create a Flash Recovery: http://www.macworld.co.uk/how-to/mac-software/create-mac-flash-recovery-drive-for-emergencies-3499802/.
Rq: you can find out whether your Mac supports NVMe SSDs via the "Harware" menu. If so, "NVMExpress" will appear
Plug and Play
INSTALLATION TIPS:
1- prepare a "USB boot disk". - Download the "High Sierra" image disk and follow the instructions on the Apple website to create the USB boot module.
2- Install the SSD with the adapter.
3- Boot the Mac by holding down the "option" key, then launch the USB boot disk.
4- When the installation launches, choose "Disk Utility Tool".
5- Select "show all disk utility", create your partition.
6- Go back, then launch "install Mac OS".
7- Select the SSD M2 to install the OS.
Note: some Macs may experience anomalies when coming out of hibernation, so it's advisable to disable hibernation mode.
Select the options
select related items
select size/color
|
Alert
Please enter the required fields! |
Thank you, your request has been registered
